The Art of Display: Museum-Quality Presentation for Your Collection
 By
By
The Art of Display: Museum-Quality Presentation for Your Collection
Whether you’re passionate about vintage comic books, rare coins, fine art, or antique pottery, your collection deserves more than being stuffed in boxes or scattered across shelves. Creating a museum-quality display transforms your cherished items from mere possessions into a curated exhibition that tells a story, preserves history, and brings joy to both you and your visitors.
I’ve spent countless hours wandering through world-class museums, studying how they showcase everything from ancient artifacts to contemporary masterpieces. The magic isn’t just in what they display—it’s in how they present it. Today, I’ll share the professional techniques and insider secrets that can elevate your personal collection to museum standards, regardless of your budget or space constraints.
Understanding Museum-Quality Display Principles
Museums don’t just throw items on display and hope for the best. Every element serves a purpose, from the lighting angle to the background color. The foundation of museum-quality presentation rests on three core principles: preservation, visibility, and storytelling.
Preservation comes first because what good is a beautiful display if your items deteriorate? Museums invest heavily in climate control, UV protection, and proper support systems. While you might not have a million-dollar HVAC system, you can absolutely apply these same principles on a smaller scale.
Visibility ensures that each piece can be properly appreciated. This means considering sight lines, avoiding visual clutter, and creating focal points that guide the viewer’s eye naturally through your collection. I’ve noticed that the best museum displays make you want to linger, to discover new details with each viewing.
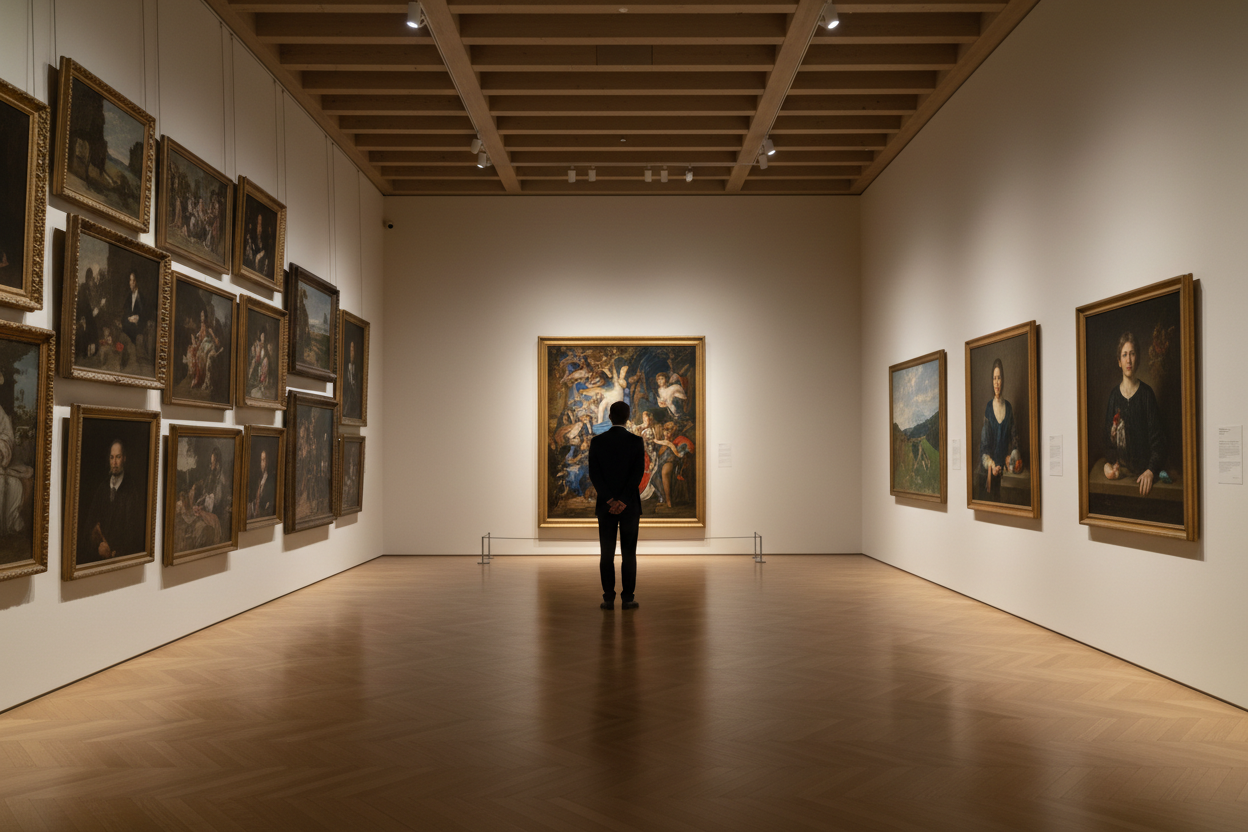
Storytelling transforms individual objects into a cohesive narrative. Museums excel at creating connections between pieces, showing evolution over time, or highlighting cultural significance. Your collection likely has its own story—perhaps it represents your travels, your family heritage, or your expertise in a particular field.
Essential Equipment for Professional Display
You don’t need to break the bank to achieve professional results, but investing in quality display equipment makes an enormous difference. Start with proper lighting—it’s arguably the most transformative element you can add to any collection.
LED track lighting offers the most flexibility and control. Unlike traditional bulbs, LEDs produce minimal heat and can be adjusted for both intensity and color temperature. Museums typically use lights with a Color Rendering Index (CRI) of 90 or higher to ensure accurate color representation. For smaller collections, even battery-operated LED puck lights can create dramatic improvements when positioned correctly.
Display cases serve dual purposes: protection and presentation. Acrylic cases work well for most collections and cost significantly less than museum-grade glass. Look for cases with UV filtering if you’re displaying items sensitive to light damage. For larger pieces, consider floating shelves with integrated lighting or custom-built shadow boxes.
Professional mounting materials might seem like overkill, but they’re crucial for long-term preservation. Acid-free mats, archival mounting boards, and conservation-grade adhesives prevent chemical damage that can occur over years or decades. I learned this lesson the hard way when cheap matting materials left permanent stains on several vintage photographs.
Lighting Techniques That Transform Your Collection
Lighting can make or break your display. Museums employ lighting designers who understand how different angles, intensities, and color temperatures affect perception. You can apply these same principles to create stunning results at home.
The key is layering different types of lighting. Ambient lighting provides overall illumination, while accent lighting highlights specific pieces. Task lighting helps viewers read labels or examine fine details. Most home displays rely too heavily on overhead lighting, which creates harsh shadows and flattens dimensional objects.
Try positioning lights at a 30-degree angle from the vertical—this minimizes glare while providing even illumination. For paintings or flat artwork, use two lights positioned at equal angles to eliminate shadows completely. Three-dimensional objects benefit from multiple light sources that reveal form and texture without creating competing shadows.
Color temperature matters more than most people realize. Warm light (2700K-3000K) creates a cozy, intimate atmosphere perfect for traditional art or antiques. Cool light (4000K-5000K) works better for contemporary pieces or scientific collections. Many museums use tunable LED systems that can adjust throughout the day, but even choosing the right fixed color temperature will dramatically improve your display.
Strategic Arrangement and Composition
Museums don’t arrange objects randomly—every placement decision supports the overall narrative and visual flow. The best displays create a journey for the viewer, with clear entry points, logical progression, and satisfying conclusions.
Start by identifying your strongest pieces—these become anchor points around which you’ll arrange supporting items. Museums often use the “triangle rule,” creating visual triangles with objects of varying heights and sizes. This creates dynamic compositions that feel balanced without being static.
Consider the viewing experience from multiple angles. Will people approach your display from the left, right, or head-on? Arrange your most important pieces to be visible from the primary viewing position, but include interesting details that reward closer inspection or different viewpoints.
Negative space is just as important as the objects themselves. Cramming too many items together creates visual chaos and prevents individual pieces from being properly appreciated. Museums typically display far fewer items than they own, choosing quality over quantity for maximum impact.
Creating Context Through Labels and Information
Even the most beautiful object becomes more meaningful when viewers understand its significance. Museums invest considerable effort in creating informative yet accessible labels that enhance rather than overwhelm the viewing experience.
Effective labels start with the basics: what is it, when was it made, and who created it? But the best labels go beyond mere facts to explain why the piece matters. What makes it unique? How does it relate to other items in your collection? What story does it tell about a particular time, place, or culture?
Keep text concise but engaging. Museum studies show that visitors typically spend only 15-30 seconds reading labels, so front-load the most interesting information. Use active voice and avoid jargon unless you’re certain your audience will understand it.
Consider different types of information for different audiences. A brief label might satisfy casual viewers, while QR codes can link to detailed information for those who want to dive deeper. Some collectors create beautiful hand-lettered labels that become part of the aesthetic appeal, while others prefer clean, modern typography that doesn’t compete with the objects.
Preservation Considerations for Long-Term Display
Museums think in terms of centuries, not years. While your timeline might be shorter, applying conservation principles will ensure your collection remains in excellent condition for future generations to enjoy.
Environmental control starts with understanding what damages your specific type of collection. Photographs fade from light exposure, metals corrode from humidity, and organic materials attract pests. Research the specific needs of your items and create the most stable environment possible within your constraints.
UV filtering is crucial for almost all collections. Even if your items aren’t obviously light-sensitive, UV radiation causes gradual deterioration that’s often irreversible. UV-filtering films for windows and display cases are relatively inexpensive and provide excellent protection.
Rotation keeps items fresh for viewers while giving pieces a rest from display conditions. Museums regularly rotate their exhibitions, partly for variety but also for conservation. Consider changing your display seasonally or annually, giving some items a break while bringing others into the spotlight.
Budget-Friendly Solutions for Every Collector
Creating museum-quality displays doesn’t require museum-sized budgets. Some of the most effective improvements cost very little but make dramatic differences in how your collection is perceived and preserved.
DIY solutions can work wonderfully when executed thoughtfully. Simple shadow boxes built from picture frames create professional-looking displays for small objects. Fabric backgrounds—particularly museum-quality cotton or linen—instantly elevate the appearance of any collection. Even something as basic as consistent matting and framing creates visual cohesion that makes individual pieces look more important.
Thrift stores and estate sales often yield excellent display materials at fraction of retail cost. Look for quality wooden furniture that can be repurposed as display cases, vintage glass domes for highlighting special pieces, or interesting containers that complement your collection’s aesthetic.
Focus your budget on elements that provide the biggest impact. Professional lighting typically offers the best return on investment, followed by quality mounting materials for preservation. You can always upgrade display cases and furniture over time, but poor lighting makes even the finest collections look amateurish.
Conclusion: Bringing It All Together
Transforming your collection into a museum-quality display is both an art and a science. It requires understanding your objects’ needs, respecting their significance, and presenting them in ways that honor their importance while making them accessible to viewers.
Remember that the best displays evolve over time. Museums constantly refine their presentations based on new research, changing perspectives, and visitor feedback. Your collection display should be similarly dynamic, growing and improving as you learn more about both your objects and effective presentation techniques.
Start with the fundamentals—proper lighting, thoughtful arrangement, and basic preservation—then build complexity as your skills and budget allow. The goal isn’t to compete with major museums but to create a presentation worthy of your passion and the objects you’ve chosen to preserve and share.
Whether you’re displaying a few treasured family heirlooms or an extensive collection built over decades, applying these museum-quality principles will transform how others perceive and appreciate your items. More importantly, it will deepen your own connection to your collection, turning everyday viewing into a curated experience that brings joy and meaning to your daily life.
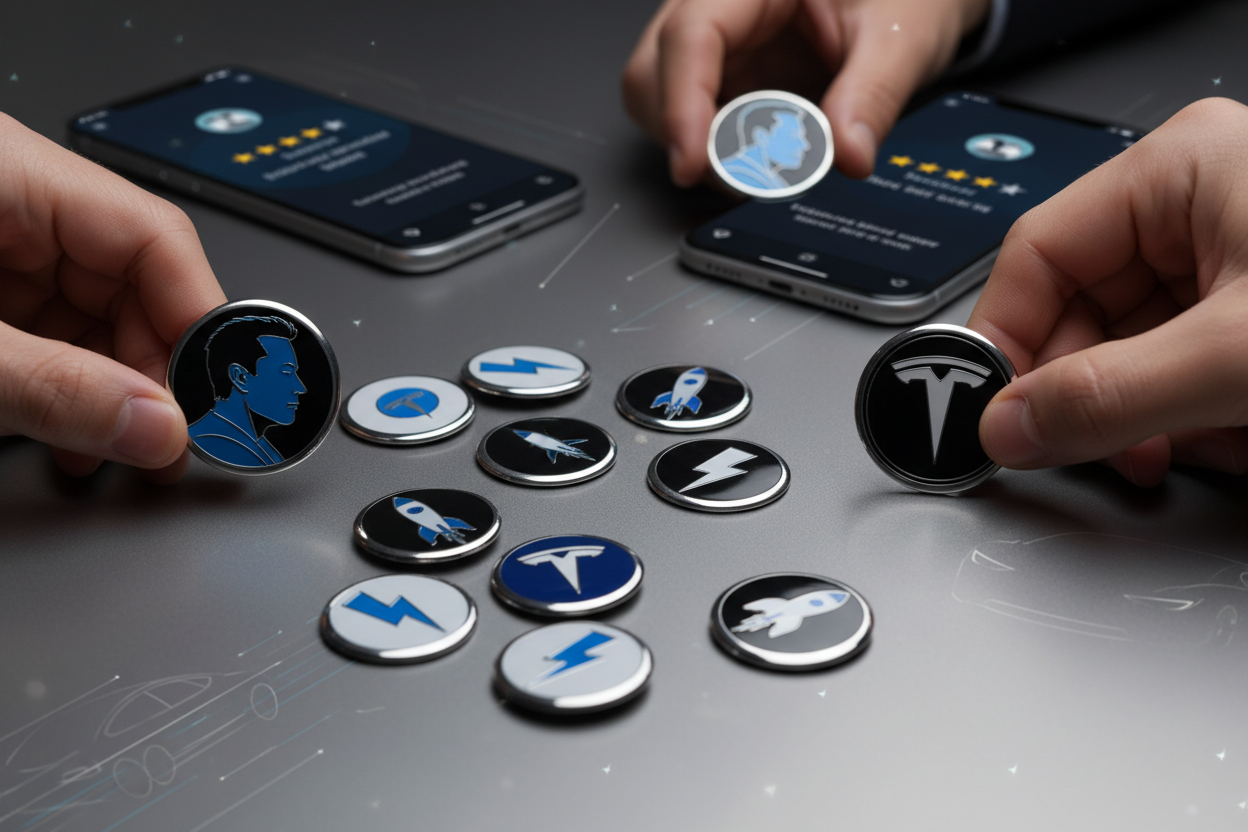
Own a Piece of the Revolution – The Elon Musk Tribute Badge
While politicians talk and bureaucrats delay, Elon Musk builds. He made electric cars mainstream, revolutionized space travel, and defended free speech on a global stage. This isn’t just a collectible. It’s a symbol of American innovation, self-reliance, and the courage to act.
Crafted from military-grade alloy with precision 3D engraving, this limited-edition badge features Elon’s portrait alongside the iconic logos of SpaceX, Tesla, and X. Only 250 exist worldwide. No reruns. No second chances.
Whether on your desk, workshop wall, or display case, it’s a daily reminder: The future isn’t coming. You build it. Now.